Why would you want to learn how to compost? There are so many reasons and I’ll list them for you below. Some call compost black gold, and you can even buy compost under that brand name. But why buy it when you are probably throwing away everything you need to make your own compost?
According to a paper by the National Resources Defence Council, 40% of food produced in the United States is wasted. The author notes that Americans end up throwing out approximately 25% of the food and beverage they buy. You can read more about how to cut down on food waste here, but one part of that equation is also composting.
Composting benefits:
- Making your own compost cuts down on food scraps going into the landfill.
- Reduces the release of methane gasses (greenhouse gas)
- Composting is an excellent way to improve your gardening efforts by adding humus to the soil.
Composting is such a rewarding practice. I’ve always dumped kitchen food waste into a compost heap, but it was years before I learned how to properly compost. More on my epic fail further down…
Composting for the Absolute Beginner
First, let’s start by gathering everything you’ll need to begin composting.
- A compost bin, pile or tumbler
- Something for collecting food waste, a bucket, bowl, or bag
- If using a compost pile, you’ll need a pitchfork and perhaps a rake (and arm strength!)
- For hot composting, you’ll want a thermometer. (This isn’t necessary, and I don’t use one, but some people do. If you have an inner environmental scientist wanting to be precise, or you end up needing to troubleshoot.)
How to Compost
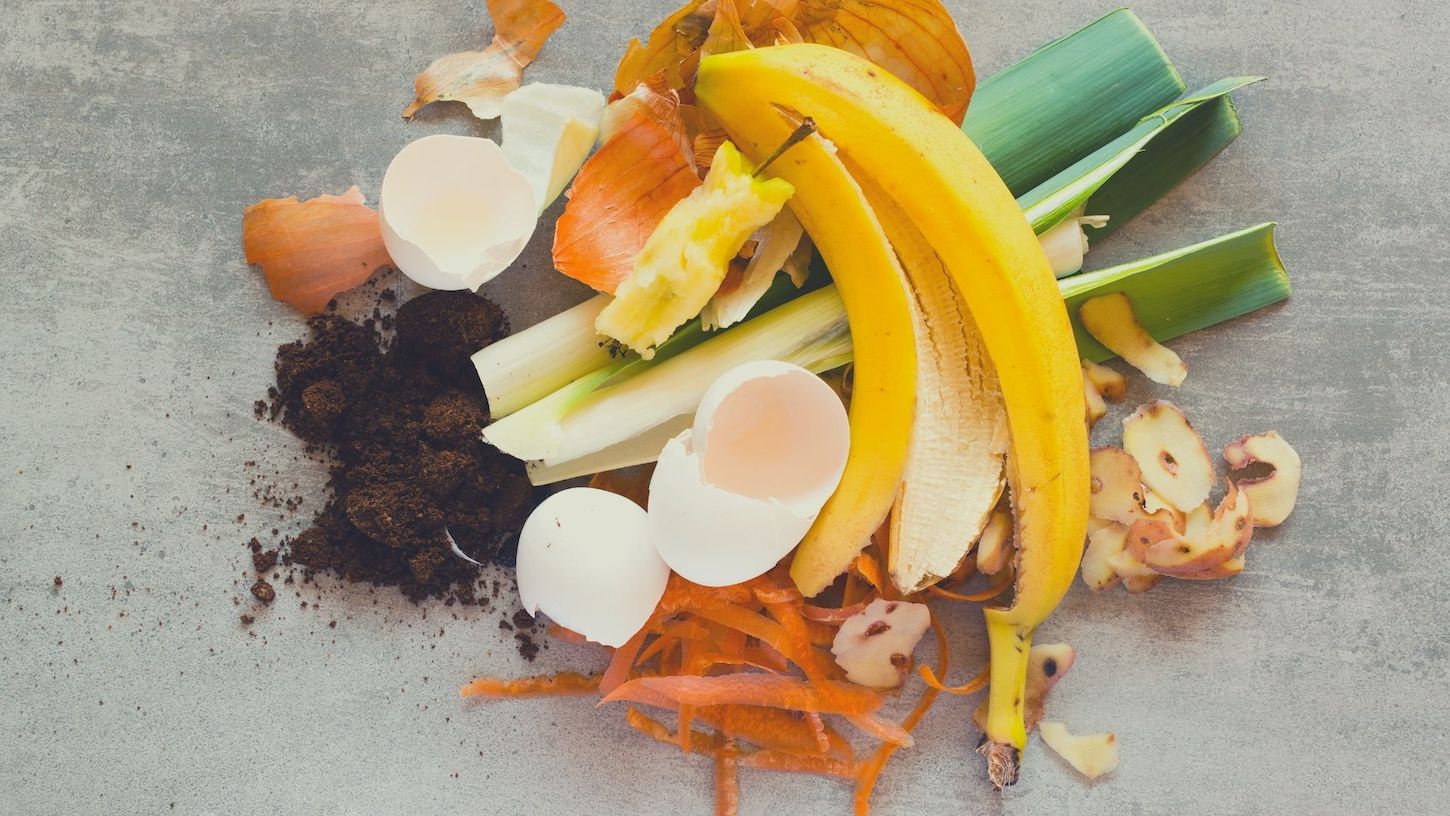
The first step is collecting inevitable food waste from the kitchen. This includes banana peels, eggshells, and other organic matter. Not bones, fat, grease, or dairy products. You’ll also want to collect brown plant material such as leaves and small twigs or dried grass clippings.
Here’s a chart to help you put in the right stuff and avoid a rotten mess. Not to mention, meat and dairy can introduce harmful bacteria. These foods will definitely attract unwanted critters to your compost pile so leave those out.
Collecting your food scraps is the easiest part of composting. You’ll need to add both greens and browns to your compost. Without getting too technical, try to stick with a ratio of 2:1. In other words, two parts browns to one part greens. So for every bucket of kitchen scraps, you carry out to your compost pile, you’ll need to add the proper amount of dried leaves, straw, sawdust, shredded newspaper, etc.
Don’t get too worried about the ratios. Some will suggest 3:1. I’ve even read some suggestions that say 4:1. What I usually do is use what I have, but that can go wrong, so just pay attention to your compost. (More on that further down.)
Cardboard and paper such as paper plates and napkins work fine if you don’t have leaves or straw. You can rip up the cardboard tube in the center of your toilet paper as well. You may see some recommendations of 30 parts carbon to 1 part nitrogen. This is the C:N ratio which differs a bit from the brown:green ratio.
The C:N ratio is the recommendation for hot composting and is often the ratio in industrial composting facilities. Browns are typically fluffier than greens, meaning there will be more air in a scoop, think of leaves or twigs as opposed to clumped up freshly mown grass.
However, for backyard composting, trying to maintain 2:1 browns to greens will help you achieve good results. By results, I mean excellent compost that you can add to create rich soil for plants and gardening.
Greens: nitrogen-rich fresh green grass clippings, food waste
Browns: carbon-rich dried or brown grass clippings, yard waste such as leaves, straw, mulch, sawdust, wood chips (these break down more slowly, especially if they are large.)
Houseplants that die, dry leaves, trimmings from plants, old mulch, veggie scraps, tea bags, coffee grounds, dryer lint, animal fur, fruit and vegetable peelings and such are all good compost materials.
Compost Bucket on Kitchen Counter
Choose a container for collecting kitchen waste. Make sure to get something that will hold up to plenty of washing. Once, I bought a copper metal bucket, but after a year the “copper” started to come off and it looked awful on my kitchen counter.
Some people just use a small bowl and take it out right after they finish a meal. Do what works for you.
- Empty the bucket every few days into your outdoor tumbler or bin
- If you use a charcoal filter, it should be changed every two months.
- Keeping the lid securely in place will keep out fruit flies, gnats, etc.
- If the bucket has a bad odor, take it out or sprinkle diatomaceous earth on the food scraps.
- Hand wash, rinse, then air dry your bin between loads.
Next, you’ll want to have a place to take the food waste so that it can begin decomposing. Inside of a compost bin, microorganisms break down organic matter and produce carbon dioxide, water, heat. These microbes in your compost and also in your garden are beneficial to the soil.
Aerobic microbes will perform well as long as you provide them with an ample food supply.
Once you’ve begun collecting food waste, you’ll need to have your compost bin, pile or tumbler ready to go.
Setting up a Compost Bin
If you have access to pallets you have the makings for a fine compost bin. With a little effort, you can build your own compost bin using pallets.
In no time, you’ll have rich finished compost to add to your garden soil that will help your plants grow. If you don’t grow a garden, you can donate it to someone who does. (That’s what I did when I lived in an apartment and I got free veggies in return.)
You can also use compost in the soil for your houseplants at a ratio of about 10 parts soil to one part compost. The same can be said for the contents of a foodcycler.
With the pallets method, you’ll need a pitchfork to move your pile from one section to the other and for turning. This method tends to take longer than a tumbler, but it is the method many people use.
Compost Pile vs. Compost Bin
You may have heard these two terms used interchangeably, and it really doesn’t matter what you call it, but a compost pile is on the ground typically. Compost bins are either tumblers or boxes that can be used for layering browns and greens.
A compost pile can be surrounded by three or four walls or can be several compartments that get rotated to keep the composting process going. A pitchfork may be used to move the pile from one section to another layering it back and forth to keep it aerated.
The Department of Health recommends that the center of your compost pile should reach 131 degrees Fahrenheit or hotter before turning. You can use a composting thermometer to gauge the temperature of your compost pile, inserting the gauge into the center of the pile.
A compost bin might be in reference to a pile or a compost tumbler.
Compost Tumbler
There are two different types of tumblers for composting, one is turned vertically, the other horizontally.
No matter which you start with it’s a good idea to add your brown materials first, so add some dried leaves, little twigs, straw, or sawdust. Then you’re ready to start adding your kitchen waste to the tumbler. Give it a spin.
If all you ever add to your compost tumbler is green material (kitchen scraps) you’ll end up with compost that is too wet and your composter will smell bad no matter how much you aerate it. You need some browns to provide the carbon to help get the composting process going.
To get those food scraps to decompose, you’ll need to add carbon-rich browns to the tumbler. Turning a tumbler provides the aeration that using a pitchfork to move materials would in a compost pile. I find this the easiest method and it’s also harder for pests to get to. Most compostable foods are enticing to critters, and throwing it onto a pile might attract skunks, oppossums, snakes, raccoons and more.
Vermicomposting
Worms love to take care of your food waste and will give you a nice finished product that will be
Red wigglers are easy to obtain, just go to your local fishing supply, garden center, or you can order them online. Other worms that like to do the job include red worms, tiger worms,
To keep your worms happy, make sure not to give them grass clippings or anything with pesticides. You also should not add bread, cheese, meat, citrus, feces, or stickers from produce to your worm bin.
Worm bins are a good way to compost. You can even add worn-out t-shirts and old rags. Just make sure to rip them up a bit first so they’re easier to break down. Scraps of yarn, hair from your brush, pet fur, and even dryer lint can also be added. Although, if you have microfiber clothing I wouldn’t recommend adding the dryer lint to the worm bin.
With worm bins, you’ll want to keep the little guys healthy, so let them get some air from time to time. If it starts to smell bad, you’re probably overfeeding them. Try ripping up some paper into the bin to dry things up a bit.
FoodCycler
If you just don’t have room for a compost bin, tumbler, or pile, you can still turn food scraps into organic material full of nutrients for your houseplants. Keeping food out of the landfill isn’t just good for your plants though, remember, it cuts down on methane, which you may have heard referred to as greenhouse gases. So consider using a foodcycler if you can’t compost.
Other ways to compost Food Waste
Some communities have compost pick up, so do a bit of research. When I lived in an apartment, I used a foodcycler and a compost company called Green Heron (located in Knoxville.) You get a large bucket from the company, fill it with the proper food waste, then schedule a pick-up. They come take your full bucket and leave you an empty one for a small fee. Totally worth it if you can’t compost at home.
Bokashi Bucket
Just briefly, I wanted to mention the Bokashi bucket. This is a way to create “precompost” by using a fermentation method. I’m in the process of experimenting with Bokashi and I’ll write a separate post on the topic in the future.
The kitchen scraps are added to the bucket along with a powder made from fermented bran. This kickstarts the process. Usually collected in a bucket with a spigot near the bottom so that the liquid can be drained off and diluted for watering plants and in the garden.
Using a bokashi bucket is a fast and easy way to get nutrients organically for your plants. For now, if you want to know more about Bokashi, this Bokashi book will give you all the details. You will even find a lot of details on the Bokashi bucket listing on Amazon, here.
Signs that Something Went Wrong in Your Compost
My first go at using a compost tumbler was a complete disaster. I’d purchased one recommended by a popular Zero Waste YouTuber and it turned out to be, well, a piece of junk. There were so many little screws and no tools to tighten them, and they were tiny and hard to manage. I barely got the thing put together and even then I knew it wasn’t going to last. The fact that it was plastic also bothered me.
Still, even though the tumbler wasn’t the best, I should have been able to get compost going. However, I made the mistake of letting it get too wet. It was up in the garden area and my husband noticed the smell. Thinking he was doing me a favor, he dumped the whole thing into a garbage bag and put it in the trash pick-up. It was on its way to the landfill before I even knew it happened. Sad. Adding sawdust, some leaves, or the ashes from our grill would have set it right. He didn’t ask and I didn’t know he was dumping it in the trash.
Since my marriage is a pretty high priority, I didn’t say a word, when I found out. Although, when he told me, I decided that I would be the one to do a better job at managing the compost from then on. That way he wouldn’t have to rescue my failed efforts in the future. It still makes me sick to my stomach to think about that bag going into the landfill. Even if the compost is too wet, there are ways to fix it or bring it back to a healthy life. So, don’t let that happen to you!
Yes, too wet compost will smell bad and look gross. But the solution isn’t to throw it in the garbage. You can still save it by adding browns.
As for the tumbler, I ended up using duct tape to hold the thing together. The other thing I don’t like about this tumbler is that there is no easy way to get the compost out. You have to dump it out the small opening. I was pretty disappointed with this composting tumbler, but I didn’t let that get in my way of composting!
Things that can go wrong in composting.
- Bad smell – If your compost stinks then something isn’t right. Clearly, it’s not going to smell like fresh baked bread, but it shouldn’t smell rotten. Too many wet ingredients, like coffee grounds and kitchen scraps can cause this to happen. The solution: add dry materials, otherwise known as “browns” such as ashes, sawdust, dried leaves, shredded newspaper, etc. If your compost is too wet, you can also open the lid on a sunny day to let it dry out.
- Twigs and leaves aren’t breaking down. For the compost to break down quickly, the pieces need to be rather small. Large pieces of bark, avocado pits, sticks and too many leaves will prevent the compost from decomposing in a timely manner. The solution: Use a straight edged shovel to chop the compost into smaller bits. If you’re using a tumbler, you will need to dump the compost out first. I suggest an area of the yard or garden that doesn’t have plants, so you can chop away, then either put it back into the tumbler or bury it in the garden and plant there later. (Don’t put hot compost onto live plants.)
- Compost is really hot. This can happen when excessive nitrogen builds up in the pile. It is rare for a compost heap to combust, but if you are worried, you can get the temperature gauge mentioned earlier and keep an eye on how hot it gets.
- Compost is too dry and dusty. Add more kitchen scraps.
Other Tips and Suggestions:
If you find that one compost tumbler isn’t enough, try a variety of composting methods. You could have a vermicomposting bin with red wigglers that keep up with your kitchen waste as well as a tumbler. For those with a garden, this can be really helpful.
Never add pet litter or feces to your compost. Although aged chicken manure is often used in composting, it wouldn’t be a good idea to use fresh.